 AGreenNest
DIY Plant Projects
Make a Concrete Planter in an Afternoon
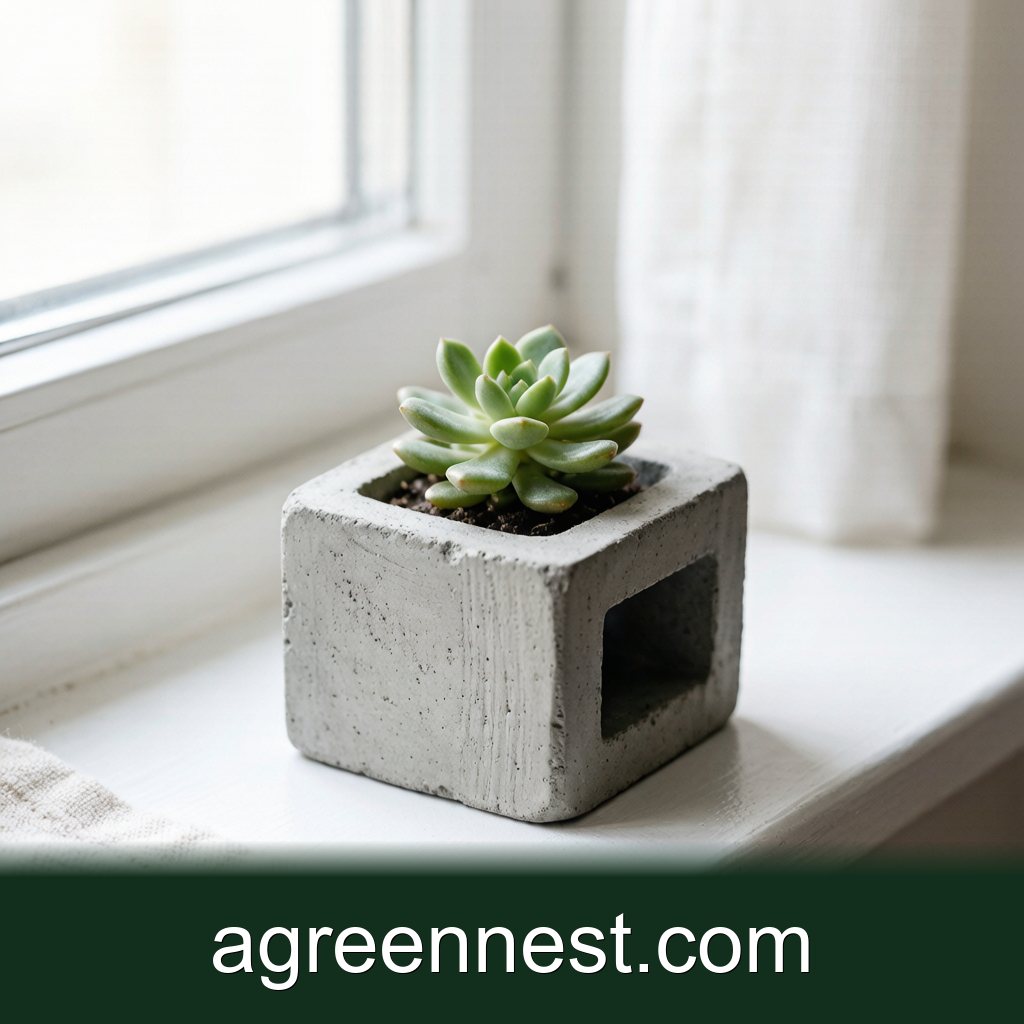
Mix one part cement to three parts sharp sand with just enough water to make a thick paste, press it into the gap between two plastic tubs, and tap out air bubbles. Leave it to cure 24 to 48 hours, then pop the mold and drill a 6 to 8mm drainage hole. A 15cm planter weighs about 1.5kg.
I cracked a store-bought ceramic planter hauling it up three flights of stairs, then realised I could make a tougher one for the price of a bag of cement. A concrete planter shrugs off knocks, holds cold roots steady, and looks right with both succulents and ferns. Here is the two-tub method I use.
What you need
- One 15cm plastic tub (the outer mold) and one 10cm tub (the inner mold)
- A 1kg bag of Portland cement and about 3kg of sharp sand
- A bucket, a trowel, and a stir stick
- Cooking oil or petroleum jelly to grease the molds
- A dowel or spoon to press the mix down
- A 6 to 8mm masonry drill bit for the drain hole (after curing)
Skip garden soil and play sand. Play sand is too fine and cracks; cement alone shrinks and splits. Sharp sand gives the wall strength.
Step 1: Grease both molds
Coat the outside of the small tub and the inside of the large tub with a thin layer of cooking oil. This lets the cured concrete slide off instead of grabbing the plastic. Pay attention to the rim of the big tub, where the two edges meet, since that is where planters stick.
Step 2: Mix the concrete
Use one part cement to three parts sharp sand by volume. Add water a little at a time and stir until the mix is a stiff paste that holds a peak when you lift the stick, not a pour. Too wet and the wall sags; too dry and it crumbles. You need about 1.2kg of mix for a 15cm pot with a 1.5cm wall.
Step 3: Fill and press
Pour a 2cm base of mix into the big tub and press it flat with the dowel. Center the small tub on top and hold it down with a weight, a brick in a Ziploc works. Fill the gap around it with mix, pressing as you go to push out air pockets. Tap the big tub on the bench for 30 seconds so bubbles rise. The wall should be 1 to 2cm thick all the way up.
Step 4: Cure and de-mold
Leave the mold undisturbed for 24 hours, then another 24 if the air is cold or damp. Concrete cures by drying, not by setting like glue, so patience matters. Pull the small tub out first, then flex the big tub to release the planter. If it sticks, run a knife around the rim. The raw pot feels cool and grey and may shed a little dust.
Step 5: Drill the drainage hole
Turn the planter upside down and drill a 6 to 8mm hole in the center of the base. Concrete drills slow, so use a masonry bit and light pressure. Without this hole the pot is a bowl and your plant drowns. A watering check still applies, but the hole is the safety net.
What should I plant in it?
Concrete is slightly alkaline and pulls moisture, so it suits plants that like a dry, steady root zone. A succulent collection in a gritty mix is the natural fit: the heavy pot anchors top-heavy rosettes and the wall stays cool. For a softer look, a single trailing pothos spills over the rim.
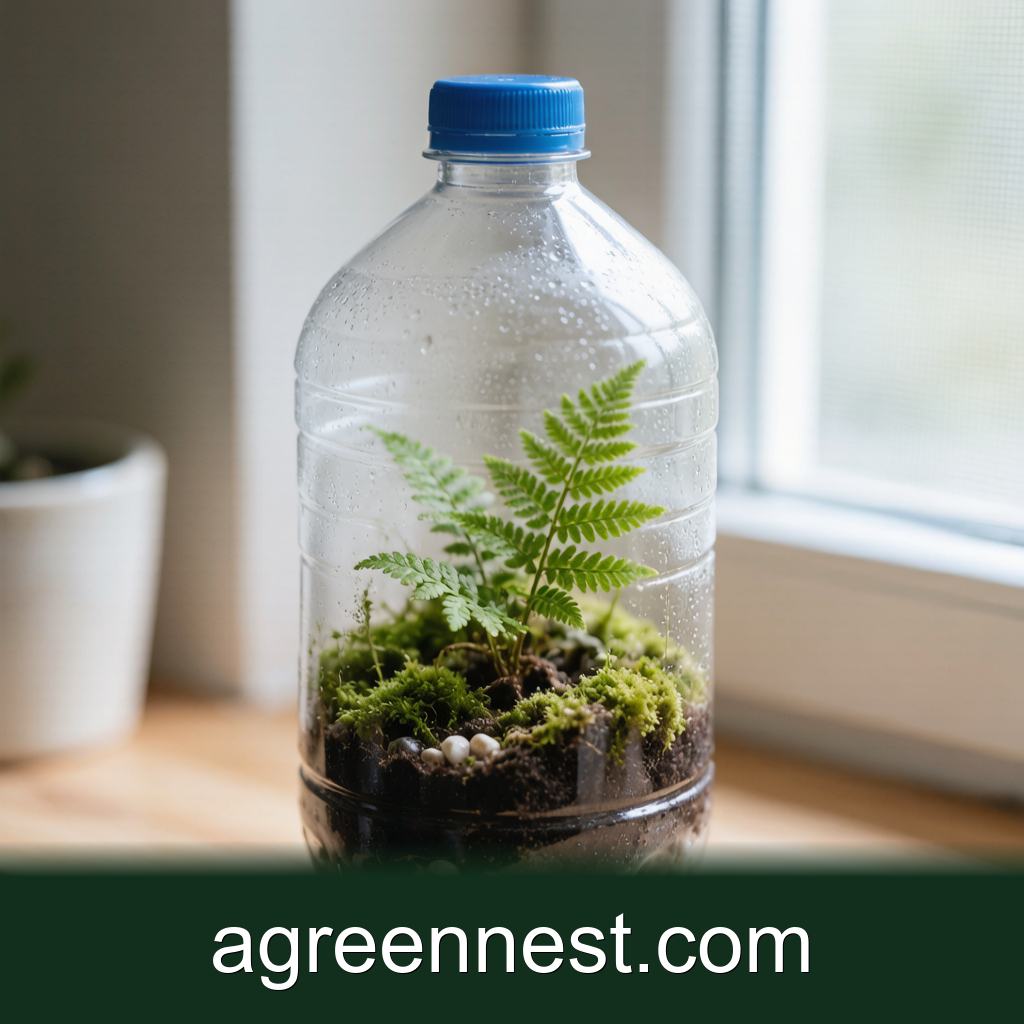
If you want a closed, humid build instead, our bottle terrarium uses the same patience with a different material.
How do I seal and finish it?
Raw concrete can leave a white powder on a wooden shelf and leach lime into soil. After the hole is drilled, brush on a concrete sealer or two coats of clear matte varnish and let it dry a day. For a softer edge, rub the rim with coarse sandpaper. A terracotta pot breathes more, but concrete wins on weight and breakage.
Frequently Asked Questions
My planter cracked while curing. What went wrong?
Usually too much water in the mix, or it dried too fast in hot sun. Keep the mold in shade, cover it with a damp cloth for the first day, and use the 1:3 sand ratio. Thin walls under 1cm also crack.
Can I colour the concrete?
Yes, add a spoon of iron oxide pigment to the dry mix before adding water. Keep the dose small or the colour looks like paint. A charcoal or terracotta tint reads as natural.
Is concrete safe for edible herbs?
Cured, sealed concrete is fine for short-lived herbs like basil, but the lime can raise soil pH over a season. Line the inside with a plastic cut from an old pot if you grow food in it long term.
How heavy is a finished 15cm planter?
About 1.2 to 1.6kg dry, closer to 2kg wet after watering. It is stable on a windowsill but check the bracket if you hang it.
Do I need a special mold, or will any tub do?
Any two plastic tubs where one fits inside the other with a 1 to 2cm gap work. Yogurt tubs make 8cm pots; storage boxes make long troughs. The shape of the mold is the shape of the pot.
Two plastic tubs, a bag of cement, and a day of curing give you a planter that outlasts anything fragile on the shelf. Grease the molds, mix stiff, press out the air, and drill the hole before you plant. For the matching gritty fill, our succulent care guide has the ratio that keeps those roots dry.
Recommended Tools for DIY Plant Projects Care
Free, no-signup helpers matched to this guide.
Free Ebooks to Explore
Downloadable handbooks — no email required.
Free Ebook
The AGreenNest Succulent Care Handbook
The complete, beginner-to-confident guide to growing fat, happy succulents — 10 chapters and a 20-plant directory.
Free Ebook
Haworthia & Haworthiopsis Care Handbook
A focused guide to the striped, forgiving Haworthia clan.


Join the Conversation
Have a tip or a question about Make a Concrete Planter in an Afternoon? Share it below — comments are saved on our server.