 AGreenNest
Plant Care Accessories
The Essential Repotting Toolkit (and How to Use Each)
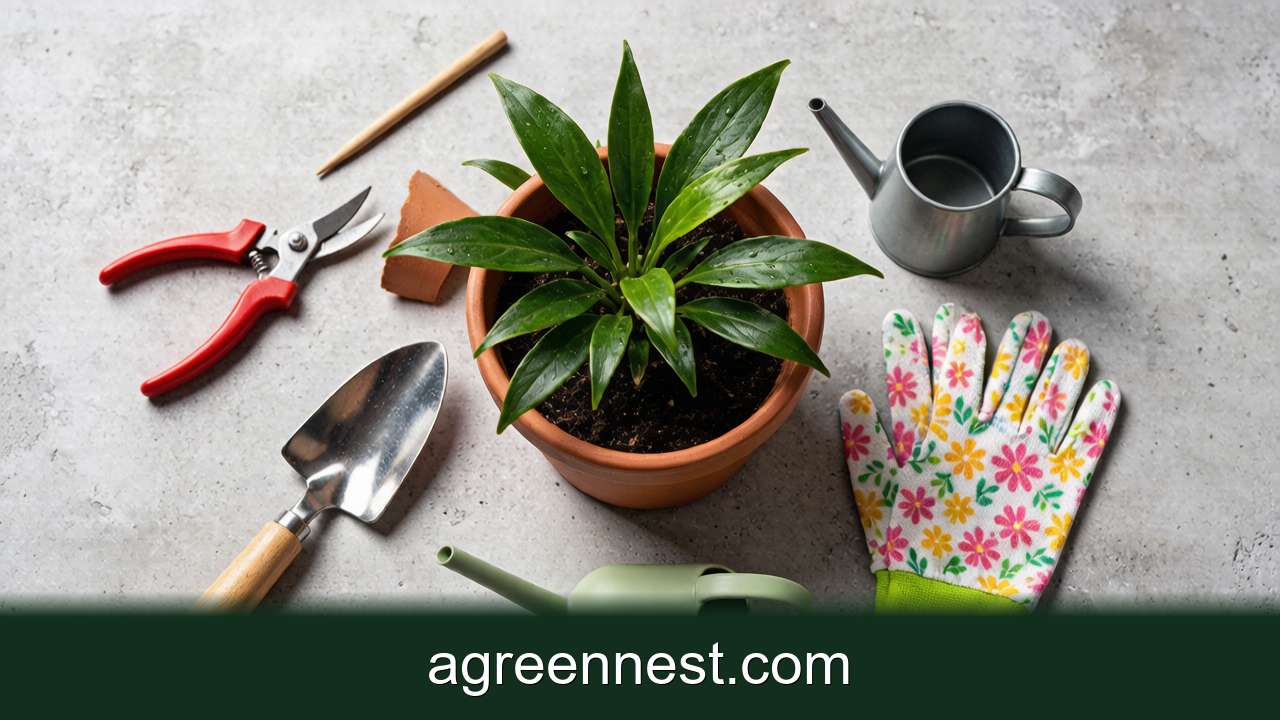
Repotting is where good intentions go wrong most often — roots torn, soil packed like concrete, a pot two sizes too big. A small, purpose-picked toolkit turns a stressful chore into a ten-minute job that your plant barely notices.
Here is the essential repotting kit and how to use each piece in the right order.
The Core Five
1. A hand trowel
For scooping gritty mix into the pot without spilling it everywhere. Choose one with a comfortable handle; you will use it constantly.
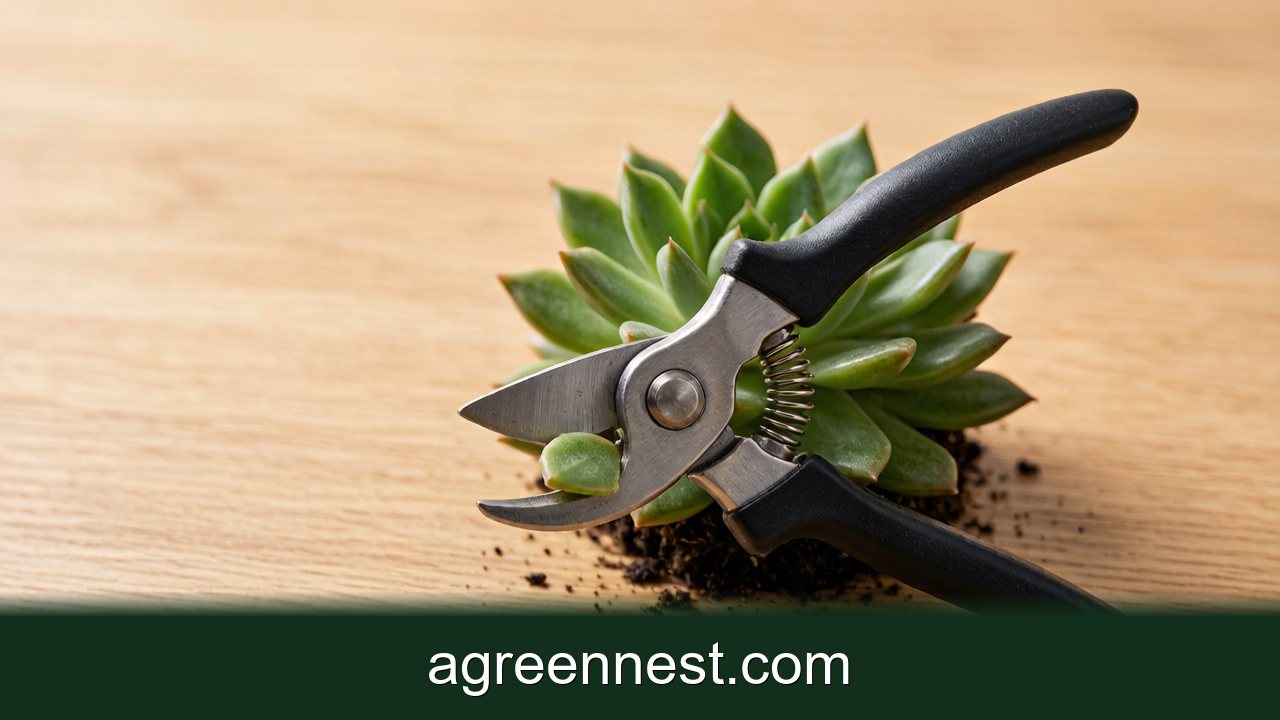
2. Bypass pruning snips
To trim dead roots and separate root-bound plants. Clean cuts heal; tears invite rot. (Our pruning shears guide covers which snips to buy.)
3. A root hook or chopstick
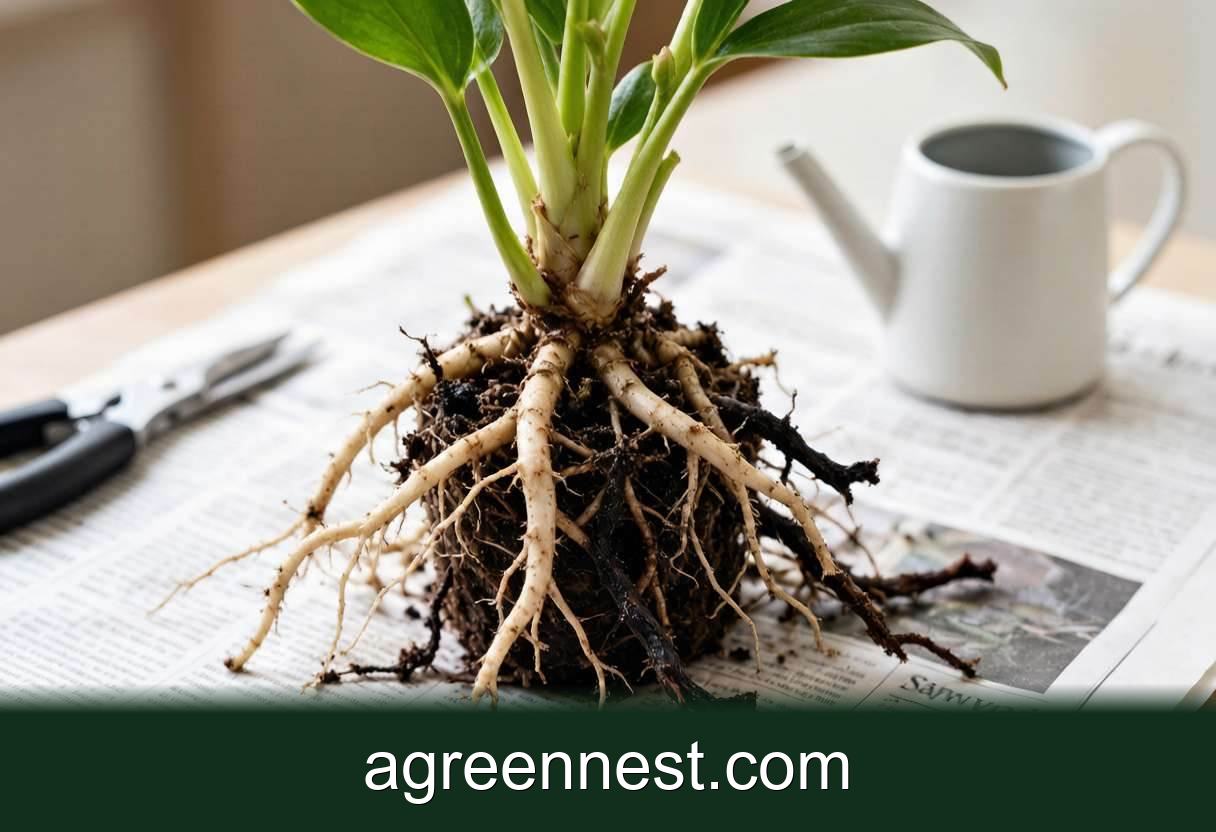
The humble chopstick is the MVP. Use it to tease roots apart and to work soil into the root ball so there are no air pockets. A dedicated root hook does it faster but a stick works.
4. Gloves
Protect your hands from grit and, for spiny cacti, from spines. Nitrile grips better than cotton when hands are damp.
5. A slim watering can
A long, narrow spout pours gently at the base without washing soil out. Skip the wide kitchen jug that floods the crown.
The Right Order (step by Step)
Following the order is more important than the tools. Full detail is in our step-by-step succulent repotting guide; the toolkit version is:
- Water the day before so roots flex instead of snapping.
- Tip the plant out by squeezing the pot and tapping the rim — never yank the stem.
- Tease the root ball with the hook/chopstick; trim only black, mushy roots.
- Add a base layer of gritty mix with the trowel.
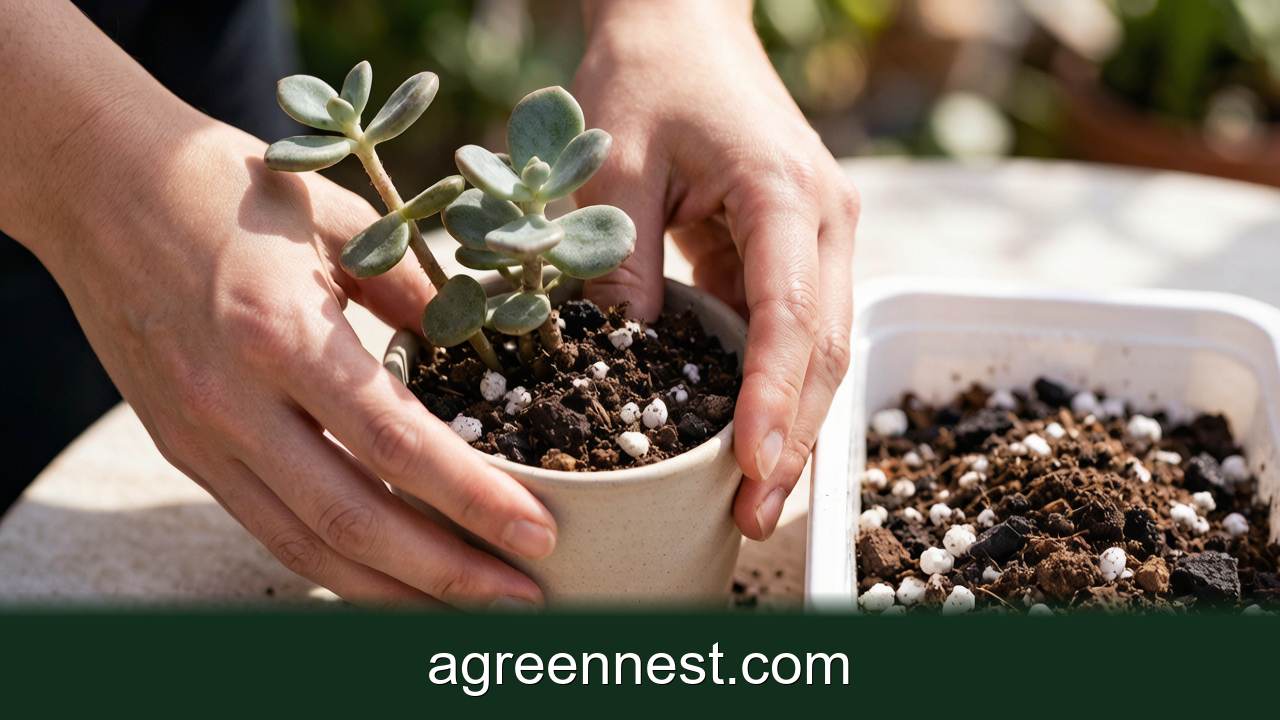
- Set the plant at the same depth, then trickle soil around roots, jiggling with the stick to settle it.
- Wait a few days before the first watering so any cut roots callus.
Choosing the New Pot (a Tool Too)
The pot itself is part of the kit. Go up only one size — one to two inches wider — never a dramatic jump, or the excess soil stays wet and rots roots. Our guide to choosing pots for succulents explains why, and terracotta is often the right call for drainage.
For houseplants generally, timing and signs matter as much as gear — see when and how to repot houseplants.
Mistakes the Kit Prevents
- Packing soil by hand → use the chopstick to settle lightly; compacted mix suffocates roots.
- Tearing roots → snips + patience to separate.
- Watering immediately → the wait lets cuts heal; skip it and rot starts at the wound.
- Wrong pot size → measure, don't guess.
Nice-to-Have Extras
Once the core five are in routine, add:
- A mesh screen over drainage holes (keeps soil in, water out).
- A small brush for tidying leaves after.
- A scoops funnel for neat top-dressing with gravel or top stone.
Frequently Asked Questions
Q: Do I really need a trowel?
A:
For one plant, a spoon works. For more than a couple a year, a trowel keeps gritty mix off your floor.
Q: Can I repot without snips?
A:
Yes, if roots are healthy — just tease them apart with the stick. Reach for snips only to cut dead or circling roots.
Q: Why wait to water after repotting?
A:
Fresh cuts on roots are open doors for rot. A few dry days let them callus, exactly like a leaf cutting.
Q: How do I know the pot is the right size?
A:
One size up from the old one. If roots circled the inside, that is your signal it was time — see the houseplant repotting guide for the full sign list.
Q: Should the kit be sterilized?
A:
Wipe snips with alcohol between plants, especially if any showed rot or pests. The trowel and stick can rinse in water.
Five cheap tools and a fixed order will save more plants than any fertilizer. Build the kit, then lean on our step-by-step succulent repotting guide the first time you use it. For the rest of the setup, browse all of our accessories guides — and if you are not sure when a plant even needs repotting, the houseplant guide clears that up fast.
Recommended Tools for Plant Care Accessories Care
Free, no-signup helpers matched to this guide.
Free Ebooks to Explore
Downloadable handbooks — no email required.
Free Ebook
The AGreenNest Succulent Care Handbook
The complete, beginner-to-confident guide to growing fat, happy succulents — 10 chapters and a 20-plant directory.
Free Ebook
Haworthia & Haworthiopsis Care Handbook
A focused guide to the striped, forgiving Haworthia clan.
Join the Conversation
Have a tip or a question about The Essential Repotting Toolkit (and How to Use Each)? Share it below — comments are saved on our server.