 AGreenNest
DIY Plant Projects
Build a Fold-Away Potting Tray for Small Spaces
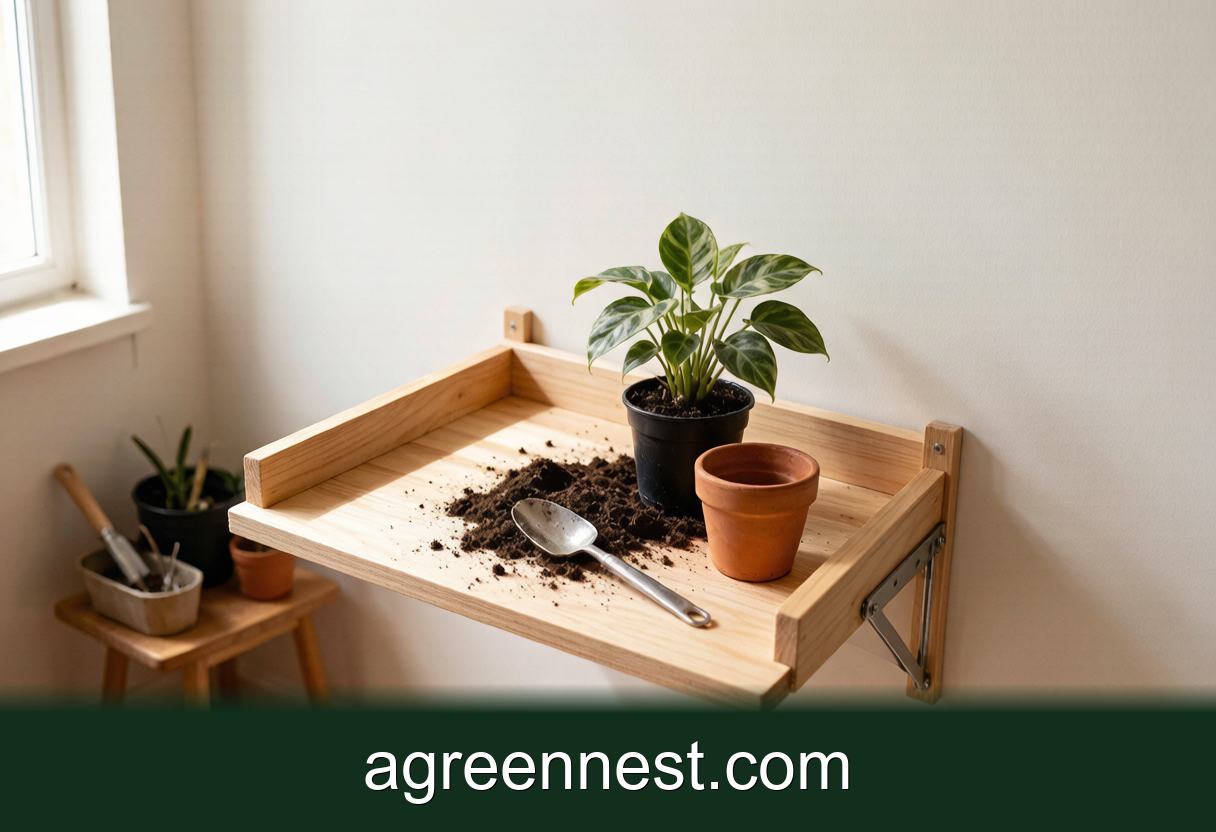
A fold-away potting tray is a hinged plywood work surface that mounts to the wall and drops flat when not in use. One 60 x 45 cm sheet of 18 mm plywood, a piano hinge, and two folding brackets build it for about $30. It holds 25 kg and saves a full table of floor space.
Repotting on a kitchen counter is how you end up finding perlite in the cutlery drawer in March. I did apartment repotting for six years, and the real problem was never skill. It was that soil work needs a dedicated surface, and a 55 square meter flat does not have one to spare.
The fix is a potting tray that borrows its space instead of owning it. Folded down: a 60 x 45 cm work surface with a raised lip. Folded up: a 6 cm-deep slab on the wall that nobody trips over. One afternoon, about $30 in materials, no joinery skills beyond drilling straight.
What You Are Building and Why the Lip Matters
The design is three parts:
- A wall cleat: a 60 x 10 cm strip of 18 mm plywood lag-bolted into studs or masonry.
- The tray: a 60 x 45 cm plywood panel with 6 cm walls on three sides, connected to the cleat by a 60 cm piano hinge.
- Two lockable folding shelf brackets rated 50 kg the pair, so the tray snaps rigid when horizontal.
The 6 cm lip on three sides is not decoration. A repot of a 20 cm pot moves roughly 3 liters of mix, and about a fifth of it tries to leave the work area. With walls on the left, right, and back, and the open edge facing you, spills stay on the tray and sweep straight back into your mix bucket. Once you have a proper mixing surface you will also blend better soil; my ratios are in the gritty soil mixer if you want a starting recipe.
Skip melamine and MDF. Both swell along cut edges after a season of damp soil. Exterior-grade 18 mm plywood, two coats of water-based polyurethane, done.
The Cut List and Hardware, Exactly
From a 60 x 120 cm piece of 18 mm exterior ply (most hardware stores will make the cuts for you, usually free with purchase):
| Part | Size | Qty |
|---|---|---|
| Tray base | 60 x 45 cm | 1 |
| Back wall | 60 x 6 cm | 1 |
| Side walls | 43.2 x 6 cm | 2 |
| Wall cleat | 60 x 10 cm | 1 |
Hardware:
- 1 piano hinge, 60 cm, stainless ($8). Not two butt hinges; a piano hinge spreads the load across the full edge and will not rack.
- 2 folding shelf brackets with locking arms, rated 25 kg each ($10-14 the pair)
- 4 lag bolts 8 x 80 mm plus washers for studs, or 8 mm sleeve anchors for masonry
- Wood glue, 30 mm screws, water-based polyurethane
Total: around $30, or closer to $22 if you already own the finish.
How High Should a Potting Surface Be?
Standing work height is elbow height minus 5 to 10 cm, which for someone 170 cm tall puts the tray surface at 90 to 95 cm off the floor. Mount the cleat so the hinge line lands there.
Assembly order that avoids the classic mistakes:
- Glue and screw the three walls to the tray base. Screws every 12 cm, pre-drilled: 18 mm ply splits at the edge if you skip the pilot hole.
- Seal everything with two coats of polyurethane, including cut edges. Edges drink the first coat; recoat them.
- Bolt the cleat to the wall dead level, checked with a spirit level. A 2 mm slope on a 45 cm tray sends water and grit steadily toward one corner.
- Screw the piano hinge to the cleat's top edge, then to the tray's back wall.
- Fit the folding brackets under the tray at each end, lock them horizontal, and load test with 10 kg of soil bags before you trust it with a plant.
Two studs are non-negotiable for plasterboard walls. A loaded tray with a full watering can on it is a 15 to 20 kg cantilever, and drywall anchors alone are a delayed-action failure.
A Workflow That Keeps Soil Off the Floor
The tray earns its wall space when the routine around it is tight. Mine, refined over roughly 60 repots:
Fold the tray down and clip a bucket to the open edge; that bucket is where spent soil and trimmed roots go. Line up the new pot, fresh mix, and tools before the plant comes over. If you are assembling that kit from scratch, the repotting toolkit essentials covers what is worth buying versus improvising.
Work back to front: de-pot over the bucket, root-check, then pot up against the back wall where the lip is highest. University of Minnesota Extension's repotting guidance makes a point people skip: go up only 2 to 5 cm in pot diameter, because oversized pots hold water the roots cannot reach, and that is a rot risk, not a growth plan. Timing questions are covered in when and how to repot houseplants.
When you finish, sweep the tray into the bucket with a bench brush, wipe with a damp cloth, fold up, done. My record from fold-down to fold-up on a single repot is 11 minutes.
One hygiene note: bagged mix can arrive with hitchhikers, and this tray means you are repotting indoors. If you have had fungus gnat trouble before, read pests hiding in bagged potting soil before opening the bag over your clean tray.
Can the Same Tray Handle Propagation and Mixing?
Yes, and that is where the design beats a plastic tub. The flat surface takes a cutting session comfortably: a row of jars, snips, and rooting medium with room to label. Species-by-species cutting technique lives in NC State's Plant Toolbox, and our propagation station build pairs naturally with this tray.
For mixing custom substrates, the three walls let you fold ingredients with a scoop the way you would fold flour. I mix 10 liter batches, about the practical limit before grit starts jumping the 6 cm walls.
The one thing the tray should not do is stay loaded. The brackets hold 50 kg, but the hinge screws live in the edge grain of plywood, and permanent static load plus soil moisture is how edge grain lets go. Fold it up empty.
Frequently Asked Questions
Q: Will a fold-away tray work on a rental wall I cannot drill?
A: Not safely on adhesive fixings; a loaded tray is a 15 to 20 kg cantilever and adhesive strips fail without warning. Either bolt the cleat into a freestanding shelf unit's uprights instead, or accept two 8 mm holes and fill them at move-out, a 10 minute repair.
Q: What is the maximum pot size I can repot on a 60 x 45 cm tray?
A: Comfortably a 25 cm pot; a 30 cm pot fits but you lose the staging space that keeps the job tidy. Above 30 cm, put a tarp on the floor instead. The tray is sized for the 8 to 22 cm pots that make up nearly all indoor repotting.
Q: My tray sags 1 to 2 cm at the front edge when loaded. Did I build it wrong?
A: Check three things: the bracket locking arms are fully snapped in, the brackets sit within 5 cm of each tray end, and the cleat bolts are tight. If all three pass, the brackets are under-rated; swap for a 25 kg-per-bracket pair.
Q: Is 18 mm plywood overkill? The 12 mm sheet is cheaper.
A: The base could survive at 12 mm, but hinge and bracket screws bite into edge and face grain, and 12 mm gives them under 10 mm of purchase. The extra $5 for 18 mm buys screw holding power, which is the failure point of every folding shelf I have seen die.
Small-space plant keeping fails on friction, not on knowledge. When repotting means clearing the kitchen counter, laying newspaper, and apologizing to whoever cooks next, you postpone it, and root-bound plants pay the bill. A $30 tray on the wall deletes that friction. Build it level, bolt it into studs, fold it up empty, and check what actually needs repotting this season with our repot timing checker.
Sources & further reading
GreenNest authors research and write every guide independently. The external links below are reputable references we recommend for deeper reading — they are not the sources we copied from.
- Michigan State University — College of Agriculture & Natural Resources — Michigan State University
- University of Minnesota Extension — U Minnesota Extension
- NC State Extension Plant Toolbox — NC State Extension
Recommended Tools for DIY Plant Projects Care
Free, no-signup helpers matched to this guide.
Free Ebooks to Explore
Downloadable handbooks — no email required.
Free Ebook
The AGreenNest Succulent Care Handbook
The complete, beginner-to-confident guide to growing fat, happy succulents — 10 chapters and a 20-plant directory.
Free Ebook
Haworthia & Haworthiopsis Care Handbook
A focused guide to the striped, forgiving Haworthia clan.
Share Your Plant Story
Grown something tricky, or found a trick that finally worked? Tell us in the comments, or see what other readers are sharing on our Community page. The best reader tips get folded back into our guides.
Join the Conversation
Have a tip or a question about Build a Fold-Away Potting Tray for Small Spaces? Share it below — comments are saved on our server.